Changing the Sample Content
This theme (CV Card theme) generates the top menu automatically. All “pages” without any parents of the site will appear in the menu, menu captions being the page titles. If, for instance, you add a new page with the title “My Hobbies”, a menu item with the caption “My Hobbies” will be added automatically.

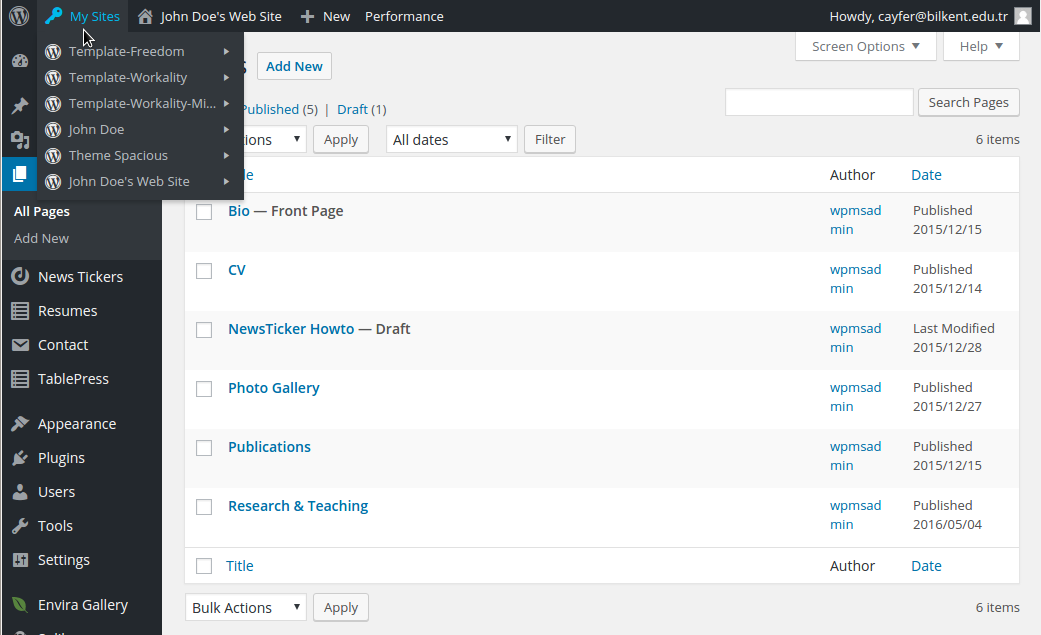
 To change the contents and/or title of a page, click “Pages – AllPages” on the dashboard and choose the page that you want to modify.
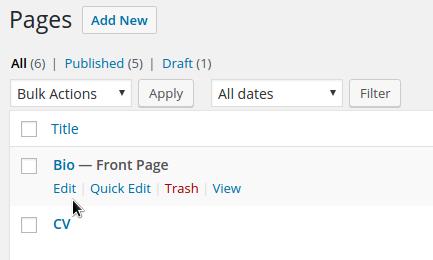
Moving the mouse cursor onto the title of a page will bring up a menu which has the “Edit” option.
Once you click the “Edit” option, the page will appear in a WYSIWYG (what you see is what you get) editor window with a bunch of text formatting buttons. This visual editor works just like word processor; only much limited.
At the top of the editor window there are two buttons reading “Visual” and “Text”. The “Text” button switches the content to HTML text mode. This mode is sometimes useful for the HTML code savvy users.
You can select pieces of text and then change attributes like colors, fonts, etc.
If you do not want the sample banner with fossil shell photo, just click the image and hit delete.
To insert images or videos, place the cursor where you want to insert and just click the “Add Media” button. You can choose an existing media file from your library or upload a new media file while editing the page.
To change the placement and size of an image, just click on the image and use the edit button to modify its attributes. You can resize an image by first clicking it and then pulling any of the corners to the size you wish. Enlarging images by stretching them is not always a good idea. It usually is better to edit the image properties to set the new size.
The title of each page will be used as a menu item label. If you do not want a certain page to appear in the menu, you should set the “Parent” attribute to some other page. In this case, it does not matter which page you set as the parent.
Menu
Next: Creating and using a photo gallery


