Uploading Files to the Server
Move your mouse cursor on top of the “Media” menu item click on “Lib rary” on the pop-up sub-menu.
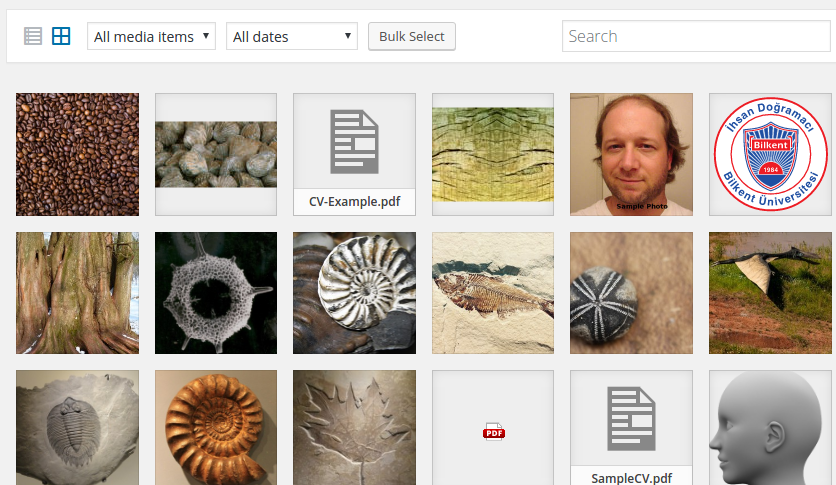
You should see the list of all media files that are currently stored in your library.
You can use the filters at the top to list only a certain type of files.
To add (upload) more files to the library, use the “Add New” button located at the very top of the media library page. To upload a file to the library, you can either drag the files from your local directory and drop them into the area marked “Drop files here” or use the “Select Files” button.
Important: If and when you need to replace a file in your media library, uploading the new version of the file with the same name will not replace the file in the library.
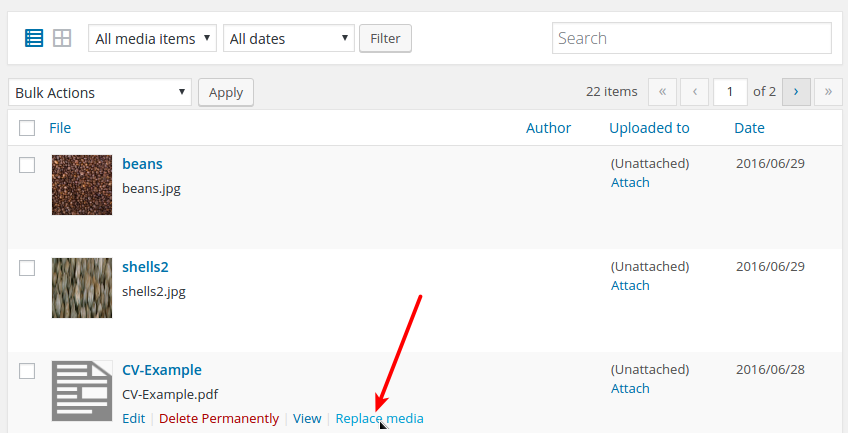
You have to explicitly tell WordPress that you want to replace it. To do this, switch the library listing format from icons view to list view.
Then point the mouse cursor to the file you want to replace (do not click; just point) and click “Replace Media” among the options that appear.


