Introduction
Now that you have a pre-populated site. The first thing that you should do now is to prepare the text and images to put into your site replacing the existing sample text and images.
You probably have your CV etc. in some digital format like an office document of PDF file. Have them ready on your personal computer. You’ll also need a decent quality photo of yourself (typically 200-300 by 300-500 pixels) and probably some other photos and images related to your research topics or personal interests. Avoid very large image files; otherwise your site will load slowly. Image files’ sizes should be in the order of several hundred Kilo bytes max. Very high resolution images will be of not much good because your visitors will be seeing them on screens anyway.
The image you might want to put on the main page is an exception. The theme will resize and re-sample the image as necessary; therefore you can use a large image on the banner. You can search for high quality royalty-free images at http://search.creativecommons.org.
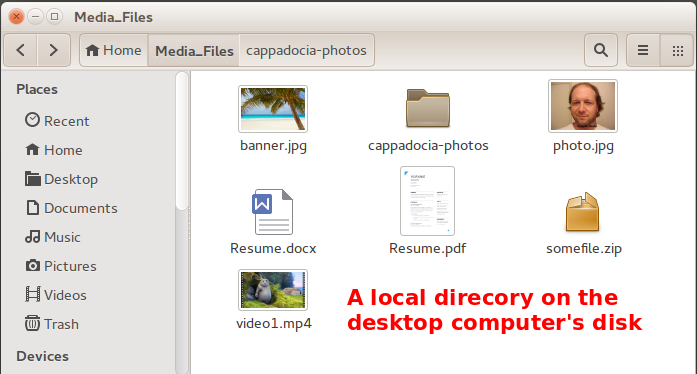
Accumulate your documents, image files, audio files, video files (“media files” in WordPress parlance) into a local directory on your desktop computer. Please note that you can always add more files or replace existing ones any time you want.
(In this tutorial set, you can always click an image to see it in full size.)
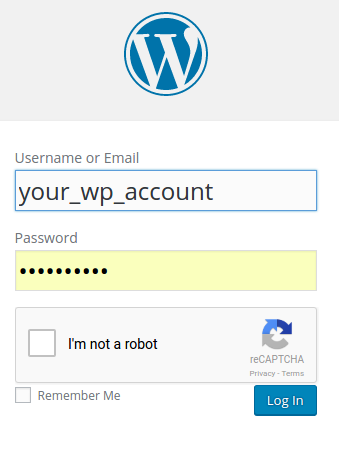
When you feel ready with your media files on your local computer, start a browser and point it to the administrative panel (Dashboard) of your new site and logon with your WordPress credentials (you must have received an email containing these):
The address of your site’s dashboard is
http://staff.bilkent.edu.tr/your_sites_name/wp-admin